In this article, we will be going through the process of switching from the Exchange Classic Hybrid setup to a full Exchange Modern Hybrid topology. We will also see how to resolve the issue if something goes wrong during the process.
Process to Switch from Exchange Classic Hybrid to Modern Hybrid
Before moving forward, we need to make sure that there are no existing migration batches and migration endpoints. If there are any migrations running currently, we need to wait until these are complete or remove them accordingly so that there are no endpoints or batches.
Remove Current Hybrid Configurations
The first step is to remove the current hybrid configurations. For this, we need to go to the Programs and Features from Control Panel and verify that there is no Microsoft Office 365 Hybrid Configuration Wizard. If there is, we need to remove it.
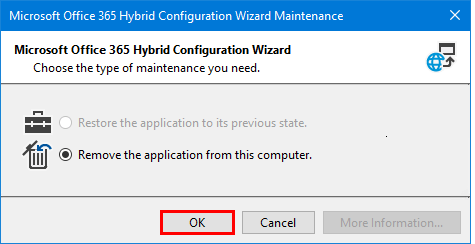
During this process, tick the Remove the application from this computer option and click OK.
Set up the Modern Hybrid
We need to first download the new wizard from the Microsoft site using the link below.
Once downloaded, open the installation file and click on Install.
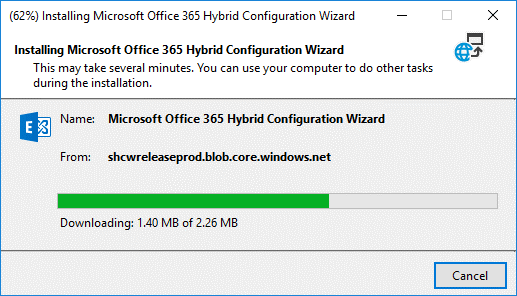
Once the installation is complete, we can proceed to set up the wizard and complete our changeover.
Run the Modern Hybrid Configuration Wizard
After the installation, the wizard will start with the welcome screen. Click Next to start the process.
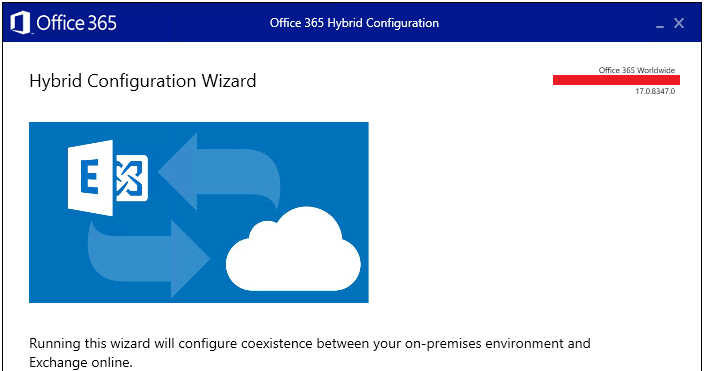
In the next screen, it should automatically detect the Exchange Server we are running.
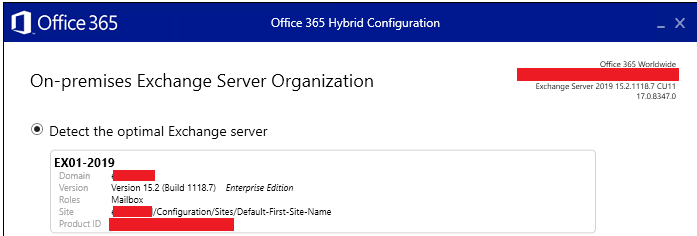
It is recommended to run the wizard using the user who has administrative access on the Exchange Server. The credentials can be set in the next screen.
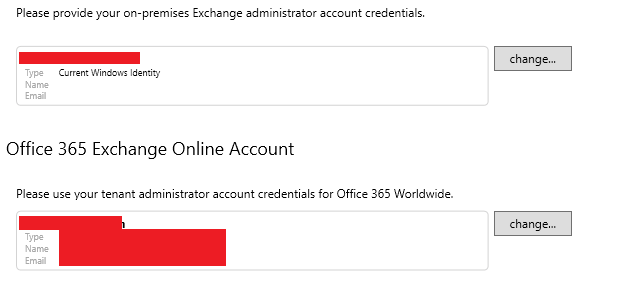
Here, it will ask to change the local credentials (if different from the currently logged on) and for the Office 365 credentials for the destination tenant.
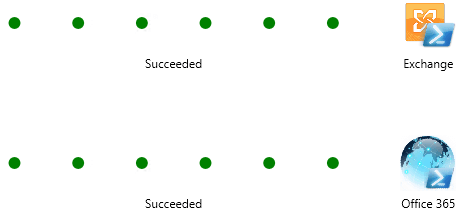
In the next screen, it will test the connectivity between the source and the destination. If all goes well, proceed to the next screen.
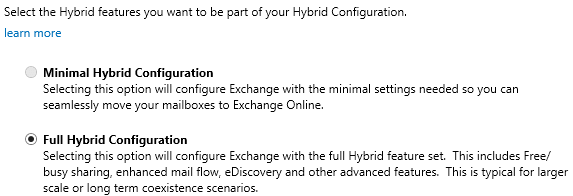
In the next screen, select the Full Hybrid configuration and click Next. We can use the minimal hybrid, but it will have a cut down version of the full hybrid with minimal settings. Use this just to move mailboxes to the cloud.
In the next screen, we will see the list of domains currently in our Exchange Server. We need to select the domains which will be a part of the hybrid setup. In some cases, we can also have local domains which are normally used for notifications or other devices. If it is not a routable domain, it should not be chosen for the migration.
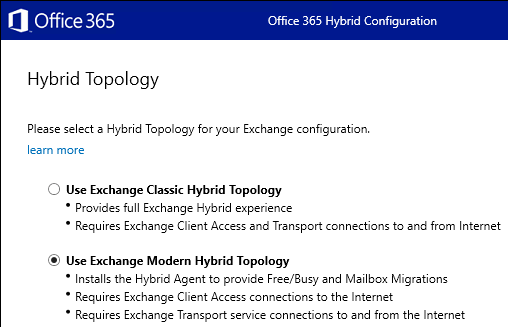
Now, comes the Modern Hybrid part. Here, we need to choose the Use Exchange Modern Hybrid Topology option and create the users for the migration in our Active Directory.
The above-mentioned user will be used for the migrations. It would need to be created as a service account and member of the Organization Management group. Exchange Online will use this user as a service account to move the mailbox data to the cloud. This user will need to be added in the next screen.
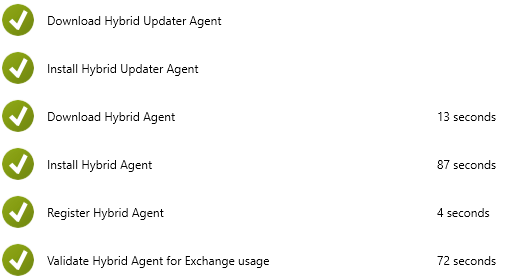
In the next screen, login with the global admin of Office 365 tenant. The Hybrid Agent will start to download, install, and register the agent. In this process, it will also validate the configuration and connectivity.
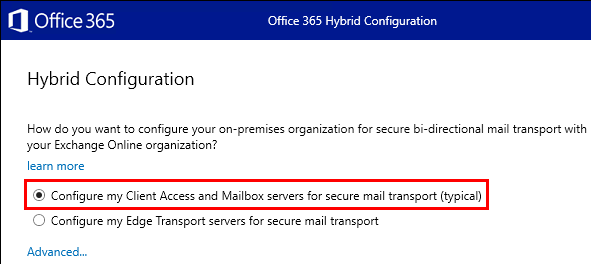
In the next screen, we need to select the mode of transfer of the transport. If we have a standalone server or a client access along with a mailbox server without any Edge Servers, we need to select the first option (as highlighted below).
In the next two screens, we need to select the Receive and Send connectors to be used when transferring data between the cloud and the on-premises servers.
Now, select the certificate to be used for the transfers. It is best not to use the self-signed certificate. A certificate from an authorized certificate authority should be used.
Next, we need to enter the DNS name that represents our on-premises Exchange Server. This will be used to route email from the cloud to the local server. This would be routable from outside to the Exchange Server. In most cases, it would be mail.<domain>.
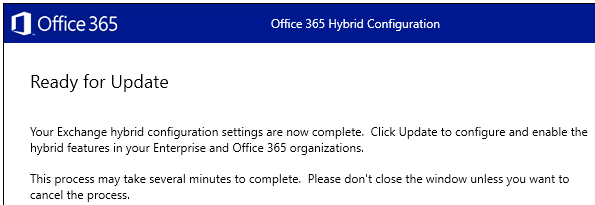
Once this is ready, click the Update button. Everything should be configured and set up.
Conclusion
As you can see, the setup is pretty straight forward and should work. The problem comes when there is an issue with the local on-premises configuration or a limitation on the network. This will stop you from setting it up. Your Exchange Server is either not compatible or there is some misconfiguration which will stop you from proceeding. In such cases, you might end up using a lot of time and resources to resolve the problem.
An application such as Stellar Converter for EDB can assist in such matters and get the data uploaded in no time. You can open multiple EDB files from any version of Exchange Server, browse through them, and granularly export to PST and other formats. In this case, you can use the application to directly migrate to Office 365. The application offers features such as automatic mailbox mapping, priority exports, parallel exports, and continuation in case of interruption. It not only exports user mailboxes but also archives, disabled mailboxes, shared mailboxes, and public folders.
By Gary Bernstein
